1. The "Less is More" Rule (Decluttering)
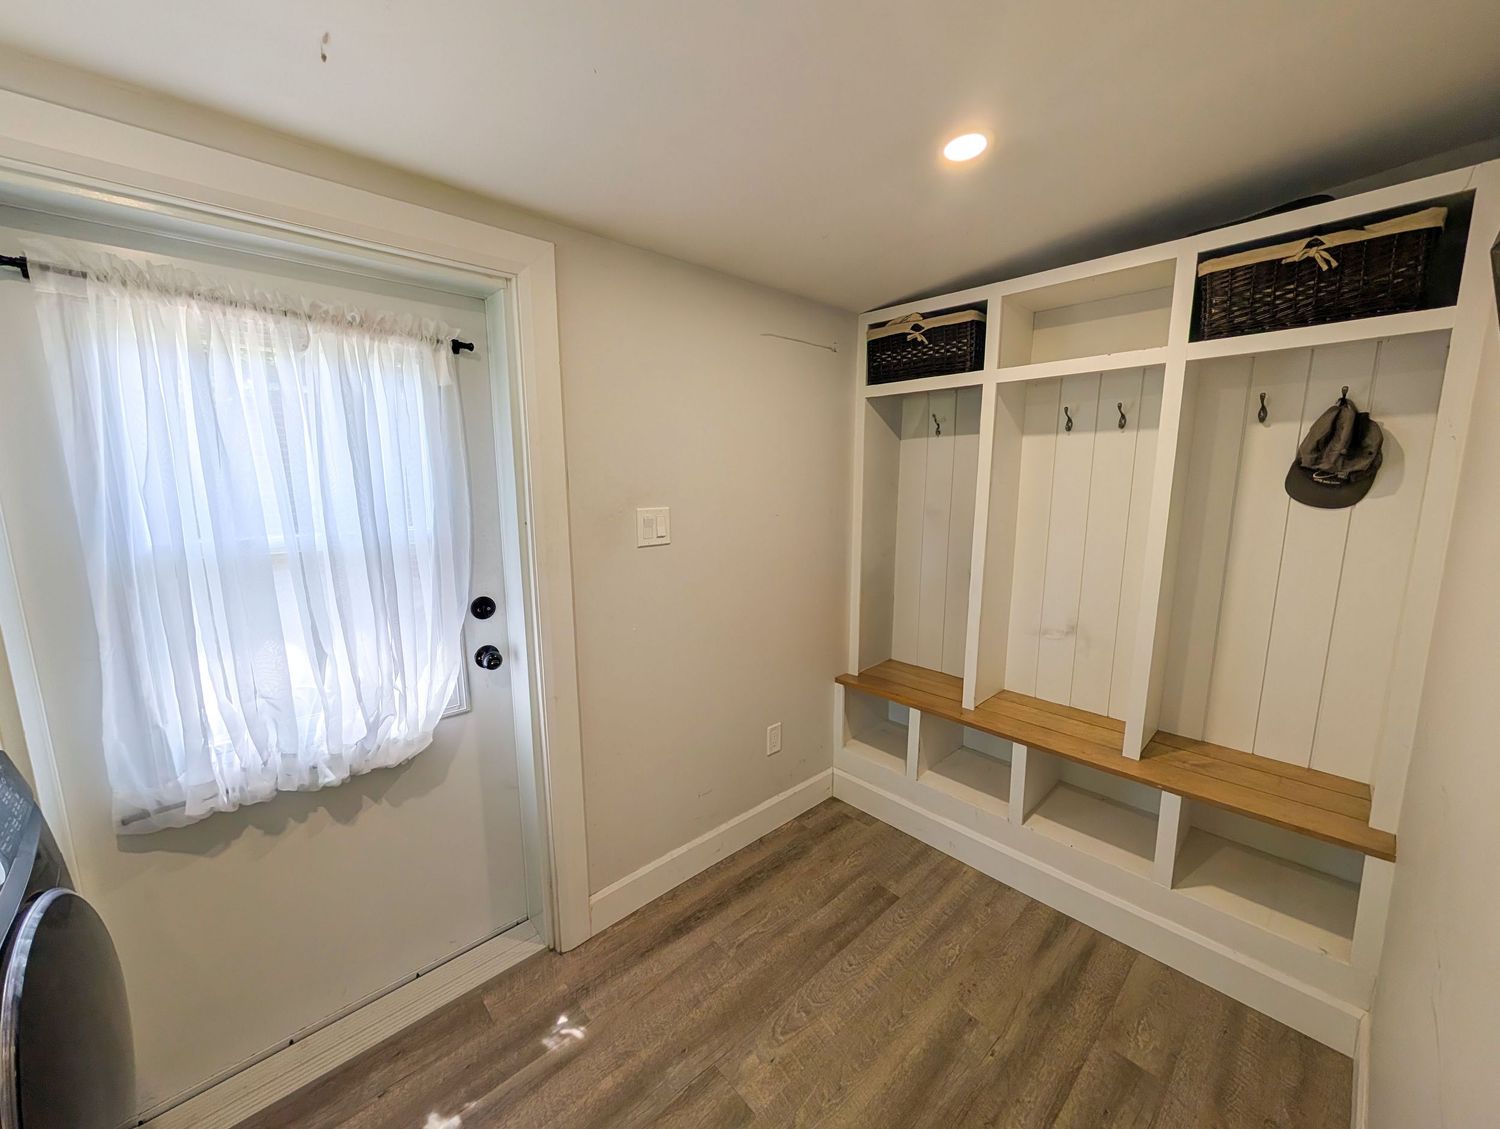
Clutter is the enemy of great real estate photography. It makes rooms feel smaller and prevents buyers from imagining their own lives in your space.
- Clear all surfaces: Remove magnets from the fridge, stacks of mail from the counters, and toiletries from bathroom vanities.
- Depersonalize: Put away family photos, heirlooms, and overly specific decor. The goal is to create a "blank canvas" that feels inviting but neutral.
- The "Hidden Storage" Hack: If you have items you use daily but don't want in photos, keep a laundry basket or bin handy. You can quickly sweep items into it and tuck it away in a closet or the garage during the shoot.
In some cases we know this isn't possible and our team is well versed in item removal during post-production!
2. Master the Lighting
Lighting can make or break a room. Professional photographers know how to manipulate light, but you can help by setting the stage.
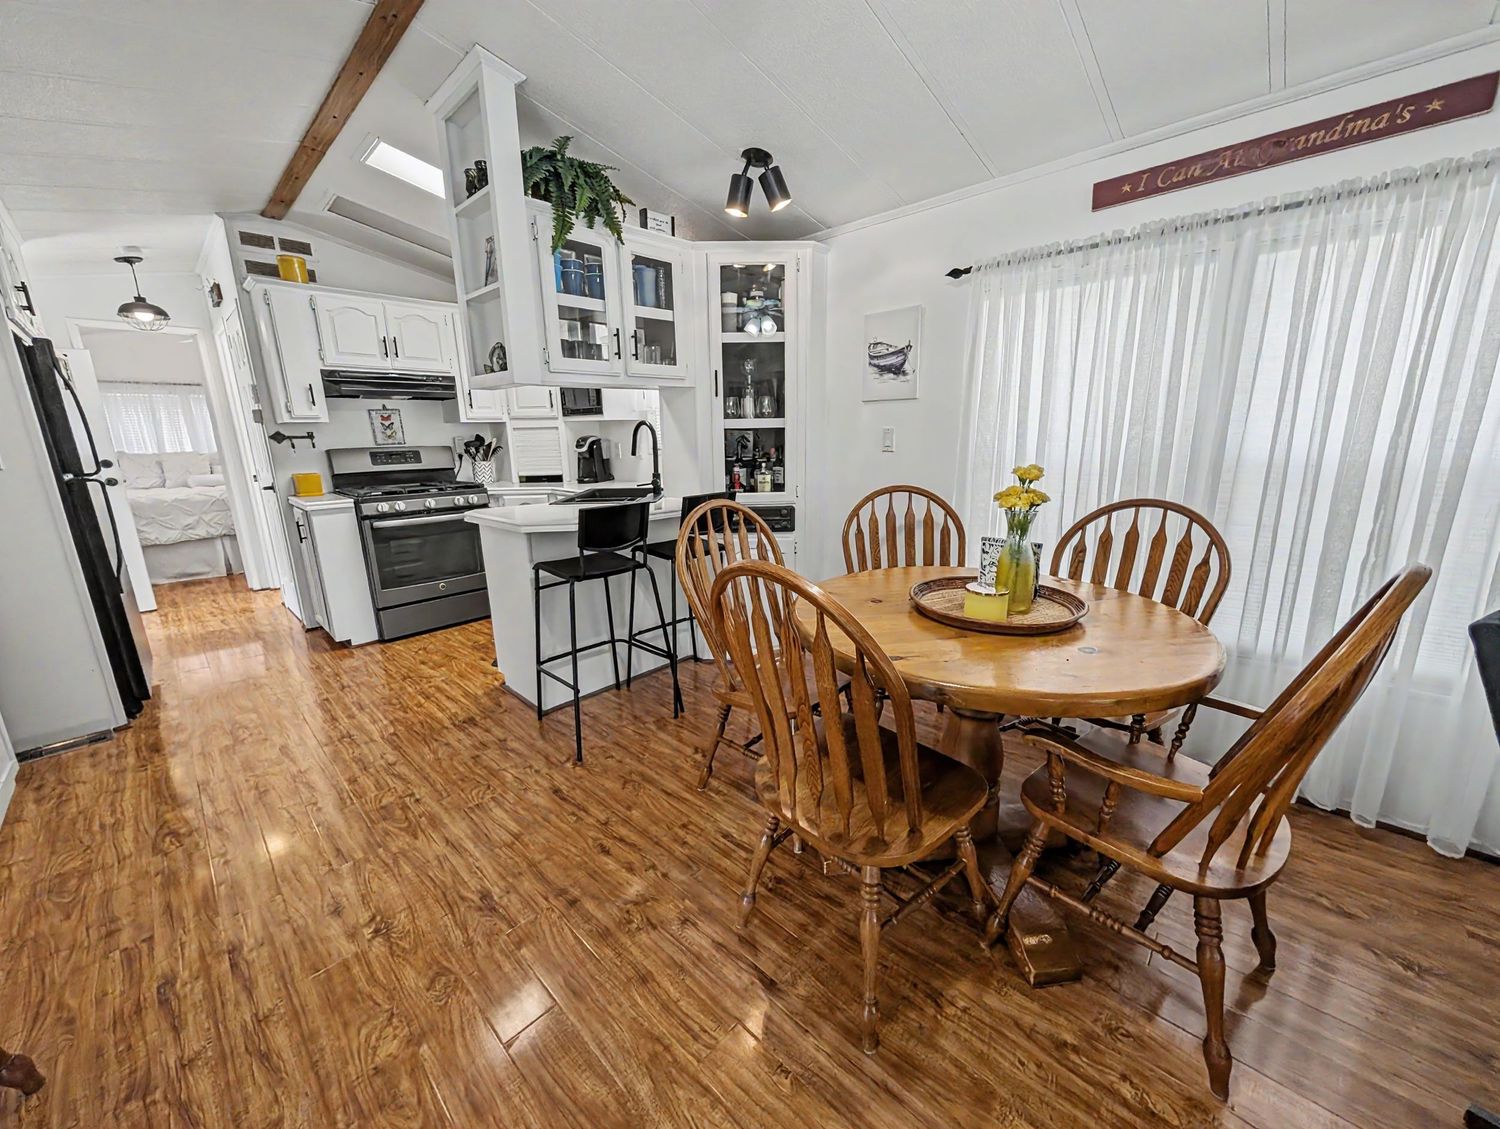
- Replace burnt-out bulbs: Ensure all light bulbs are working and, if possible, match them in color temperature (warm vs. cool).
- Let the sun in: Open all blinds and curtains. Clean your windows inside and out—smudges show up clearly in high-resolution photos.
- Turn it on: Before the photographer arrives, turn on every light in the house (including under-cabinet lighting and lamps).
3. Focus on Key Areas
Certain rooms carry more weight than others. Give these "money-maker" spaces extra attention:
Kitchen Counters & Appliances;
Clear everything except a bowl of fresh fruit or a single decorative item.
Living Room Furniture & Rugs;
Clear everything except a bowl of fresh fruit or a single decorative item.
Bedrooms Bedding & Closets;
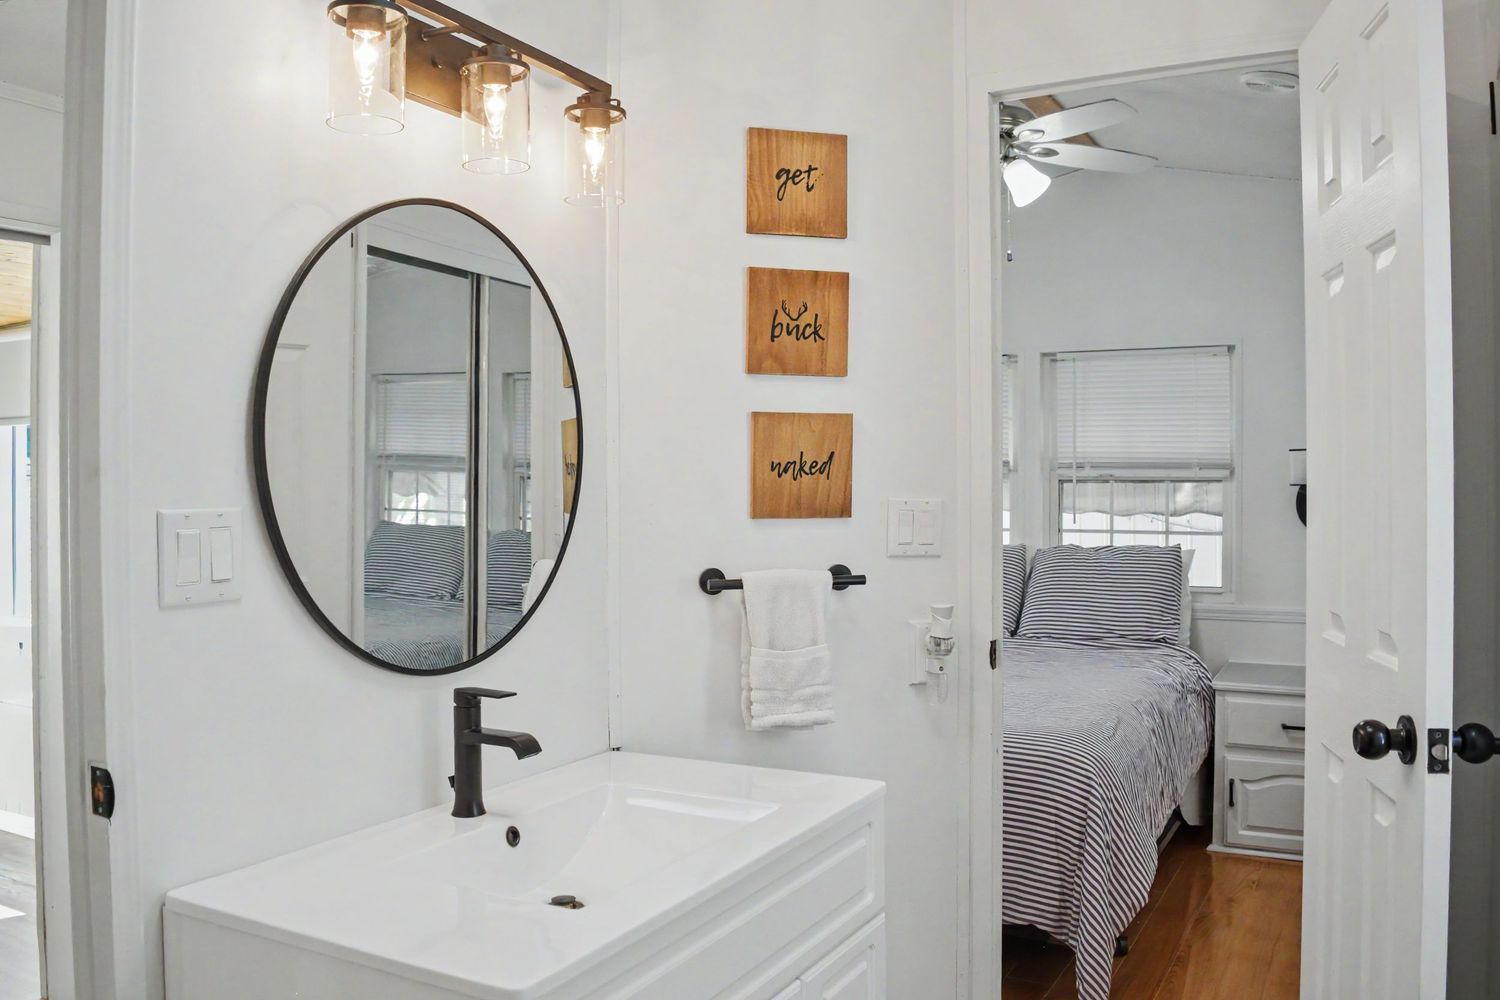
Make beds with crisp linens; hide everything inside closets (even if they are messy, closed doors look clean).
Bathrooms Fixtures & Mirrors;
Make beds with crisp linens; hide everything inside closets (even if they are messy, closed doors look clean).
4. Don't Forget the Exterior
The "curb appeal" shot is usually the first photo a buyer sees. If the outside looks unkempt, they might never scroll to the rest of the house.
- Sweep and declutter: Sweep porches and patios. Remove garden hoses, trash cans, and outdoor toys.
- Stage the patio: If you have outdoor furniture, make sure it is clean and arranged neatly.
- Yard maintenance: Ensure the grass is mowed and edges are trimmed right before the shoot.

5. The Final Walkthrough Checklist
Before the photographer hits the "capture" button, do one final sweep through the house:
- [ ] Are all toilet lids closed?
- [ ] Are all ceiling fans turned off? (Spinning blades look blurred in photos).
- [ ] Are all pets and their belongings (bowls, beds, crates) put away or out of the house?
- [ ] Are all interior doors open (unless they lead to a closet or pantry)?
- [ ] Are all light switches in the "on" position?
Investing a few hours into prepping your home will pay dividends. High-quality photos generate more clicks, more showings, and—ultimately—more competitive offers. By following these steps, you’re not just taking pictures; you’re inviting buyers to envision their future in your home.
